Create and Manage In-Store Review QR Codes
The In-Store Reviews page lets you create QR codes that customers can scan to leave a review on your selected platform.
This feature is useful when you want to collect reviews in person, such as at a front desk, checkout area, service counter, or reception space.
From the screenshots, this section appears as Review QR under Get More Reviews.
Where to find it
Go to:
Get More Reviews → In-Store Reviews

What you can do on this page
From this screen, you can:
- view existing QR codes
- see each QR code’s basic details
- create a new QR code
- connect the QR code to a review link
- choose between Text and Image options while creating
- preview the QR code before saving
- manage saved QR codes from the three-dot menu
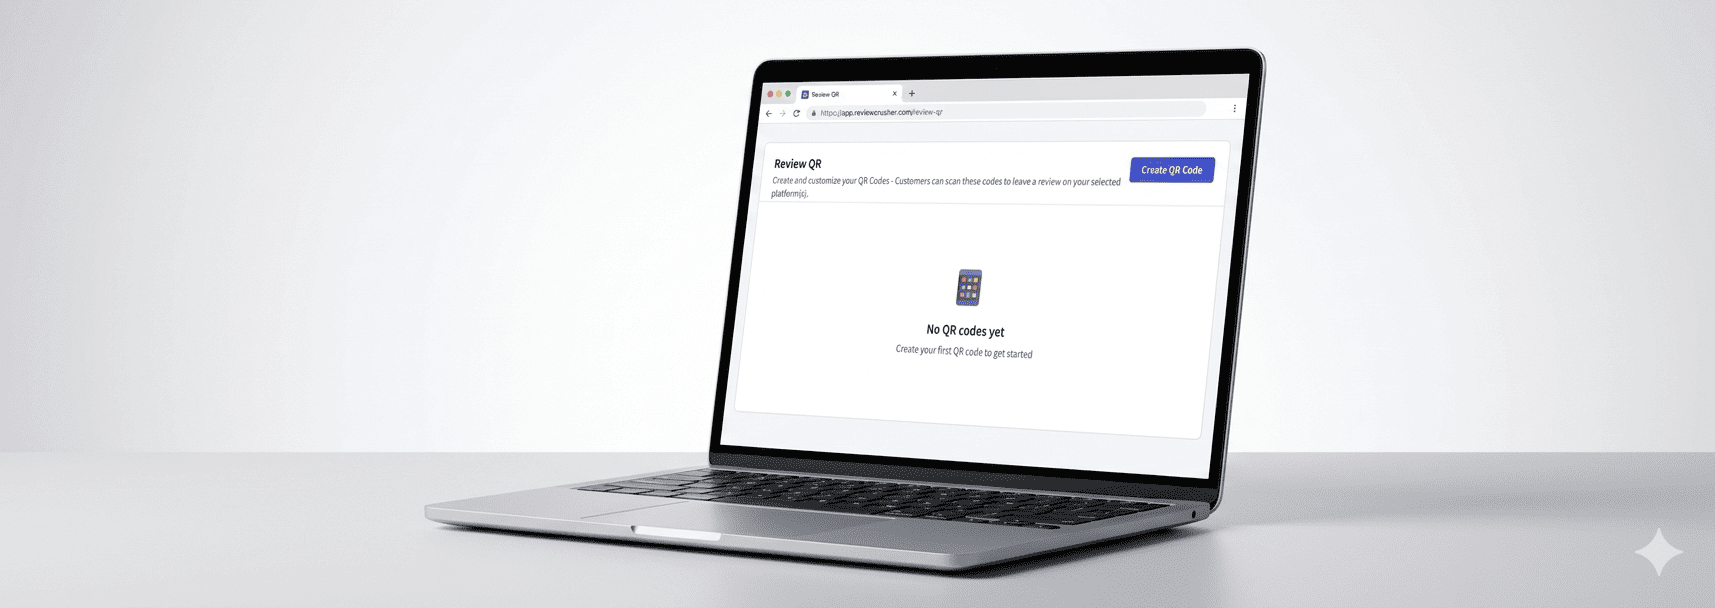
Review QR list
The main In-Store Reviews page shows a table of your saved QR codes.
The visible table columns are:
- QR Name
- Review Link Name
- Updated On
- Total Scans
Each row also includes a three-dot menu on the far right for more actions.
What each column means
QR Name
The internal name of the QR code.
Review Link Name
The review link connected to that QR code.
In the screenshot, one row shows a dash (—) under Review Link Name, which suggests the linked review name may not always be shown or may not be assigned visibly in the list.
Updated On
The date the QR code was last updated.
Total Scans
The number of times the QR code has been scanned.
This helps you monitor performance and usage over time.
Create a new QR code
To create a new one, click:
Create QR Code

This opens the Create QR Code editor.
From the screenshot, this editor includes:
- Cancel button
- Save button
- a left settings panel
- a large live preview area in the center
Create QR Code editor
Inside the Create QR Code screen, the left side contains the available setup controls.
The center area shows a live preview of the QR code.
The visible options shown in the screenshots are:
- Review Link
- Text
- Image
Step 1: Select the review link
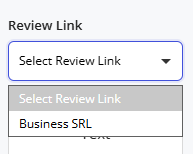
Use the Review Link dropdown to choose which review link the QR code should open when scanned.
This is the main connection between the QR code and the review destination.
Before saving, make sure you selected the correct review link.
Step 2: Choose Text or Image
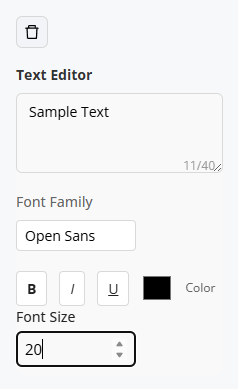
Below the review link selector, the editor shows two option buttons:
- Text
- Image
These appear to control the presentation or design mode of the QR layout.
The screenshots confirm that these are selectable options, but they do not show additional settings inside each one.
What is clear from the UI is that:
- you can switch between Text and Image
- the QR code preview updates in the main preview area
Step 3: Review the preview
The center panel shows a live QR code preview on a large white layout card.
Use the preview to confirm that:
- the QR code has generated correctly
- the layout looks clean
- the code will be easy for customers to scan
This preview helps you catch issues before saving.
Step 4: Save the QR code

When the QR code is ready, click:
Save
If you do not want to keep the changes, click:
Cancel
After saving, the QR code appears in the Review QR list on the main In-Store Reviews page.
Manage an existing QR code
Each QR code row includes a three-dot menu on the right side.
When opened, the screenshot shows these options:
- View
- Edit
- Download
- Delete
These options let you manage the QR code after it has been created.
View
Use View to open and review the saved QR code.
This is useful when you want to check the QR code without making changes.
Edit
Use Edit to update an existing QR code.
This is the option to use when you need to change the QR code’s configuration or review link.
Download
Use Download to save a copy of the QR code.
This is useful if you want to:
- print it
- add it to signage
- place it on a flyer
- use it in-store on a poster or counter display
Delete
Use Delete to remove a QR code you no longer need.
Be careful before using this option, especially if the QR code is already being used in printed materials.
How to use In-Store Reviews effectively
A practical workflow based on the screenshots is:
- go to Get More Reviews → In-Store Reviews
- click Create QR Code
- select the correct Review Link
- choose Text or Image
- review the QR code preview
- click Save
- return to the QR list
- use the three-dot menu to:
- View
- Edit
- Download
- Delete
Tracking QR code performance
Once saved, each QR code remains visible in the Review QR list.
You can use the Total Scans column to monitor how often each QR code is being used.
This is helpful if you place different QR codes in different physical locations, such as:
- front desk
- waiting room
- cashier counter
- printed table tent
- service receipt insert
By comparing scan totals, you can see which placements are getting attention.
Best practices
- connect the QR code to the correct review link before saving
- use the preview to confirm it looks clean and scan-ready
- download the QR code after saving if you plan to print it
- place the QR code somewhere easy for customers to notice
- check Total Scans to measure performance
- avoid deleting QR codes that are already in active printed use
Troubleshooting
The QR code is not ready to save
Make sure a Review Link is selected first.
I want to print the QR code
Open the three-dot menu and choose Download.
I need to change an existing QR code
Open the three-dot menu and choose Edit.
I want to review the QR code without changing it
Open the three-dot menu and choose View.
I want to remove an unused QR code
Open the three-dot menu and choose Delete.
I want to know whether people are using the QR code
Check the Total Scans column on the main In-Store Reviews page.
What customers experience
Customers scan the QR code using their phone while they are at your business.
After scanning, they are directed to the review link you selected.
This gives you a simple way to collect reviews from in-person visitors at the moment of interaction.