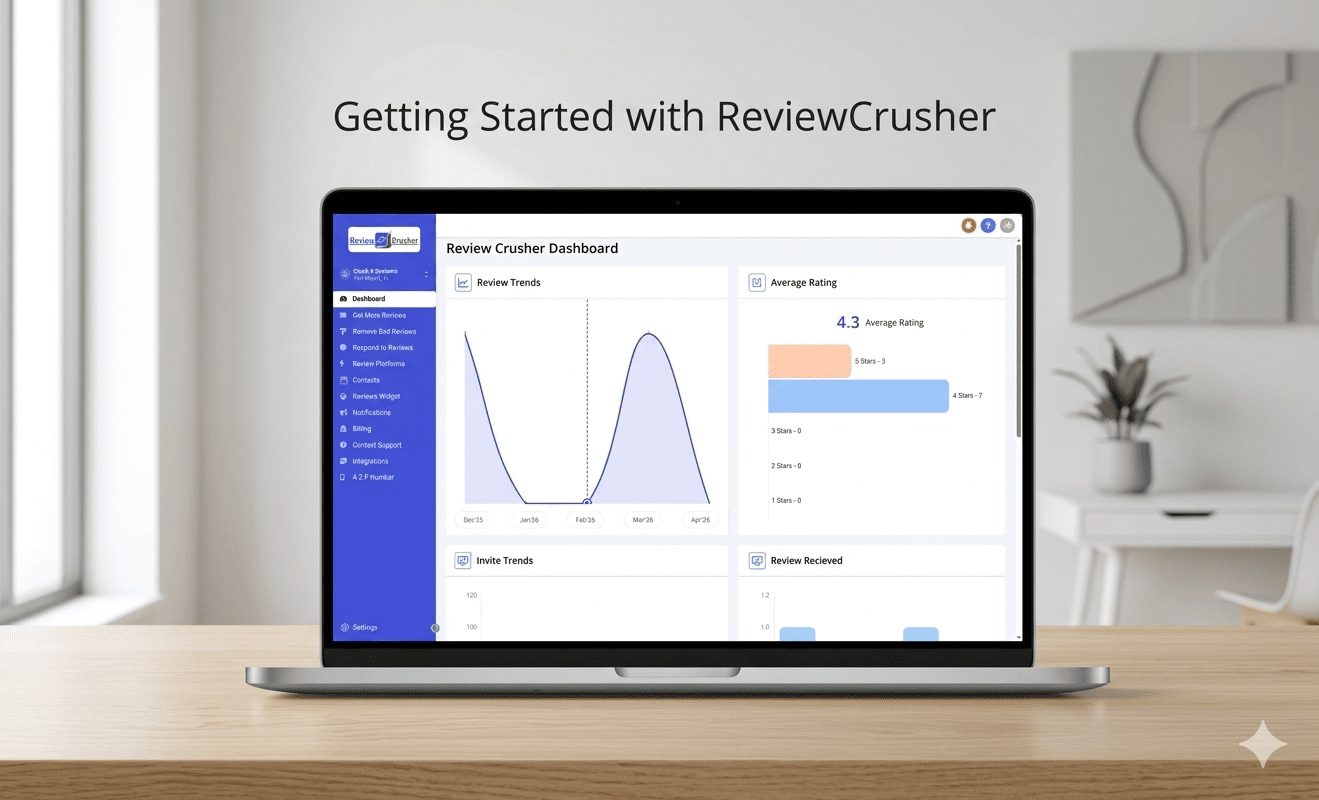
Getting Started with ReviewCrusher
Welcome to ReviewCrusher.
Before you start sending review requests and managing your reputation, there are a few core setup steps you should complete first.
This article gives you a quick overview of the main items you should set up in order. For each item, use the linked help article for full instructions.
Recommended setup order
To get ReviewCrusher working properly, complete these steps first:
- Add at least one review platform
- Create at least one review link
- Create a CrushPix
- Configure Automated Requests messaging
- Set up notifications
- Set up integrations
- Add a payment method
- Set up your A2P number
- Contact support for anything else you need help with
1. Add at least one review platform
Before you can send customers to leave reviews, you need to connect at least one review platform.
This is where you connect the review destination your customers will use, such as your Google Business Profile or another supported platform.
Why this matters
Your review platform connection is used for:
- review management
- review request destinations
- widget and review-related workflows
Read the full guide
Help article: Connect Review Platforms

2. Create at least one review link
After adding a review platform, create a review link.
A review link gives customers a place to rate their experience first, then directs them to a public review platform or private feedback flow depending on your settings.
Why this matters
Your review link is used in:
- manual review requests
- automated review requests
- QR codes
- other review collection workflows
Read the full guide
Help article: Create a Review Link

3. Create a CrushPix
CrushPix helps you create branded images for review requests.
You can build one using a custom image or start from a template, then preview how it appears in email and SMS.
Why this matters
CrushPix can improve branding and make your review requests look more polished and recognizable.
Read the full guide
Help article: Create and Customize CrushPix

4. Configure Automated Requests messaging
If you plan to send review requests automatically, configure your automated messaging early.
This includes reviewing the message sequences for:
- SMS
- SMS + Email
and making sure each step is set up correctly.
Why this matters
Automated Requests are one of the main time-saving features in ReviewCrusher. If the messaging is not configured, your automation may not be ready when you need it.
Read the full guide
Help article: Configure Automated Review Requests

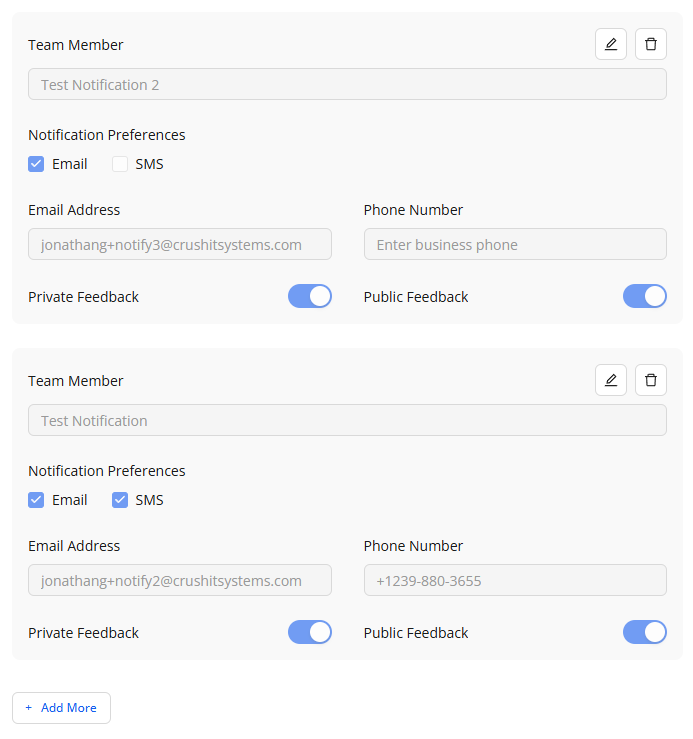
5. Set up notifications
Notifications help you and your team stay informed when new ratings or feedback come in.
You can decide who gets notified, how they get notified, and whether they receive private feedback alerts, public feedback alerts, or both.
Why this matters
Without notifications, important customer feedback may be missed or handled too late.
Read the full guide
Help article: View and Configure Notifications
6. Set up integrations
Set up your integrations as early as possible so ReviewCrusher can work properly with the rest of your workflow.
This may include CRM, automation, or external system connections depending on your setup.
Why this matters
Integrations can affect how customers enter your review workflows and how your account connects to the tools you already use.
Read the full guide
Help article: Not yet available
7. Add a payment method
Add a payment method before you start using paid features or sending at scale.
This is especially important for accounts that will use messaging, credits, or other paid actions.
Why this matters
Without a payment method, some features may not be fully usable when you are ready to launch.
Read the full guide
Help article: Not yet available
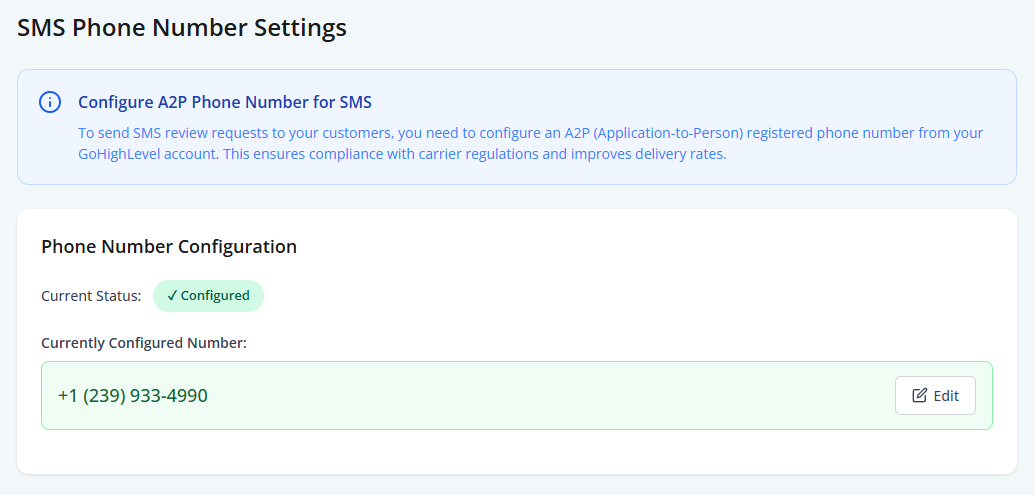
8. Set up your A2P number
If you plan to send SMS review requests, make sure your A2P number is configured.
Important: A2P registration itself is completed during onboarding or the kickoff call. The A2P settings page is for configuring or updating the registered number afterward.
Why this matters
SMS review requests depend on the correct A2P number being set up for compliance and delivery.
Read the full guide
Help article: Configure Your A2P SMS Number
9. Contact support for other concerns
If you are unsure about any part of your setup, contact support.
This is the best next step if:
- something is unclear
- a required setup item is missing
- your account is blocked by a configuration issue
- you need help beyond the available help articles
Related help
You can also review the support option in the main navigation if you need direct assistance.
Quick launch checklist
Before actively using ReviewCrusher, make sure you have completed the following:
- at least one review platform connected
- at least one review link created
- at least one CrushPix created
- automated request messages reviewed
- notifications configured
- integrations reviewed
- payment method added
- A2P number configured for SMS use
- support contacted for any unresolved issue
Recommended next reading
Start with these articles first:
- Connect Review Platforms
- Create a Review Link
- Create and Customize CrushPix
- Configure Automated Review Requests
- View and Configure Notifications
- Configure Your A2P SMS Number
Need help?
If something in your setup is missing or not working as expected, contact support before launching your review request workflows.
That helps avoid setup gaps later when you start sending requests to customers.